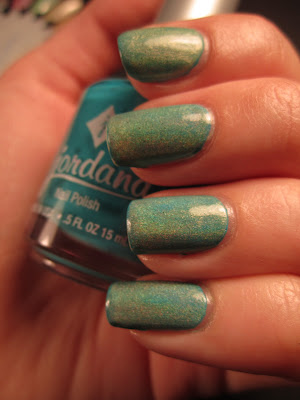
Finished product:
What you will need:
- Base color
- Top color
- Scissors
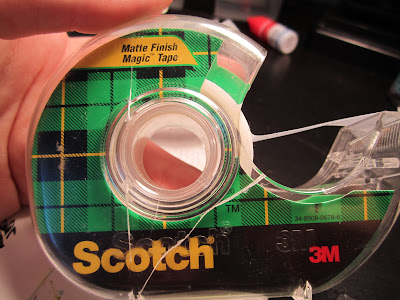
- Scotch tape
Prior to step 1:
Paint your nails with your base color and allow them to dry completely.
Step 1:
Tear off a piece of tape big enough to cover your nail with extra hanging over. If you find that the tape is too sticky and pulling your base color off, simply stick the tape to your hand a few times to make it less sticky.Step 2:
Cut small slices from the tape with your scissors. I chose to make the slices wedge shaped but you can make them any way you want. Remove the small slice and stick the very edge of it to something so that it will not get ruined (I used the edge of my desk). It is easiest if you cut all of the slices for one finger and then tape them on all at once.
Step 3:
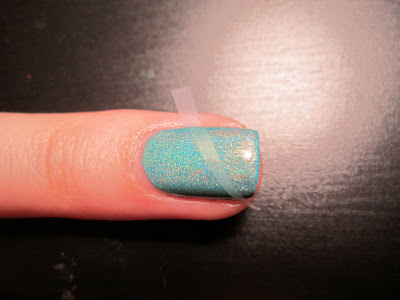
Take one of your slices of tape and stick it to your nail in any direction that you want. Make sure you smooth the tape down all the way and make sure it is sticking to the curved edges of your nails.
Repeat step 3 until you have taped all of your pieces to your nail. The number and size of the slices of tape is your decision. I used four slices of tape on this nail.
Step 4:
Once all of the tape pieces are firmly stuck to your nail, take your top color and carefully paint over the entire nail.
Step 5:
*Note: It is important that you do step 5 immediately after step four. Do not let the top color dry!
Carefully pull off the tape slices one at a time. I found that it works best to pull upwards on the tape. Apply a topcoat and cleanup any extra polish around the cuticles or on your skin.
You should get something like this:


